Andhra paruppu podi | Kandi Podi recipe with video and step by step instructions for your easy understanding and learning.
Today I show you how to make the andhra paruppu podi | Kandi Podi recipe with easy step by step instructions. This andhra paruppu podi | Kandi podi recipe is one of my favorite podi which I’m longing to prepare for more than a year. But somehow I keep postponing it. Recently I came across a YouTube video where they make this podi and I wanted to try it out.
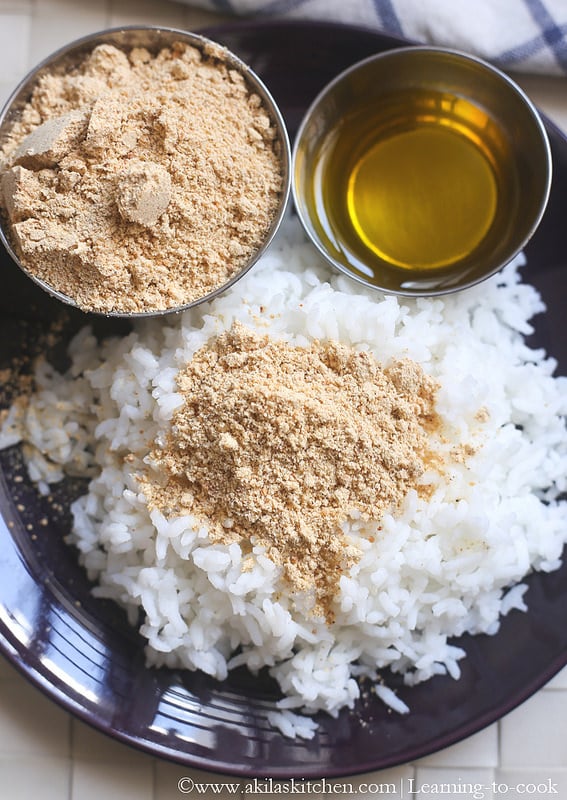
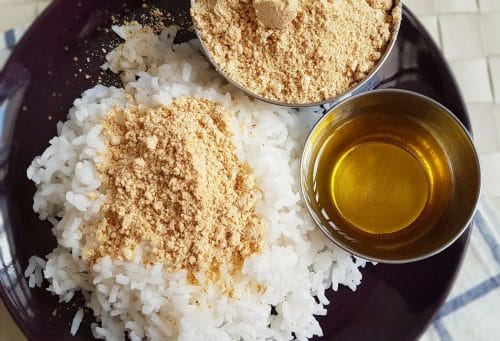
This Andhra paruppu podi | Kandi Podi recipe is a signature dish of Andhra Pradesh and if you go there you can find this podi in almost all the hotels and they give it along with ghee. You just need to add this podi and the ghee to your rice, mix and eat it. it just tastes heavenly. I love this podi very much and whenever we go to Tirupati Balaji Temple i used to get this Andhra paruppu podi from the hotels.
If you like you can check other podi or the basic powders like
- Sambhar powder
- Kariveppillai podi ( Curry leaves powder )
- Paruppu podi
- Rasam powder
- Idli Milagai Podi (Gun powder)
- Kesar badam mix powder
Video recipe of Andhra paruppu podi | Kandi Podi recipe
Printable recipe of Andhra Paruppu podi | Kandi Podi recipe
-
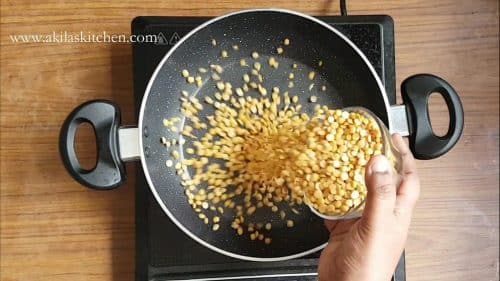
In a heavy-bottomed vessel add one cup of toodle and start frying it in low Flame for about 10 to 12 minutes or until it becomes light brown in color.
-
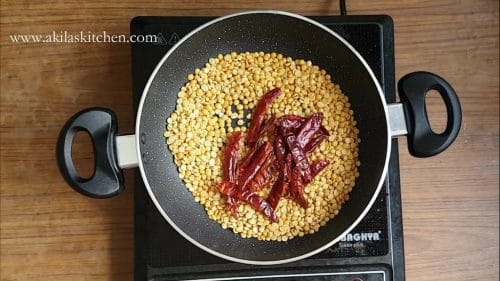
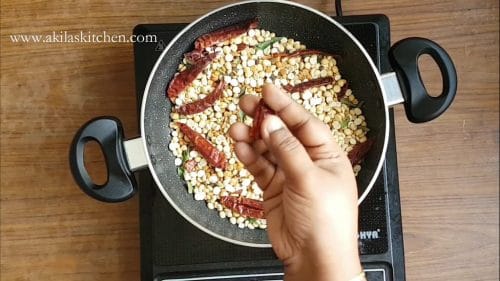
When's the color of the Toor dal changes and the dried red chilies and again Fry for another 8 to 10 minutes.
-
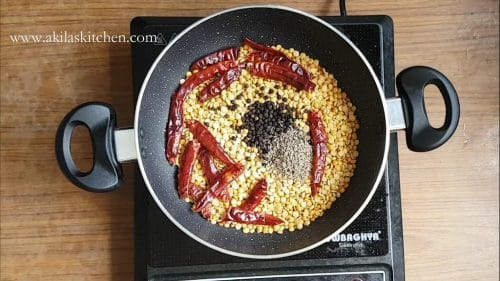
Now add the peppercorns and cumin and again start frying it.
-
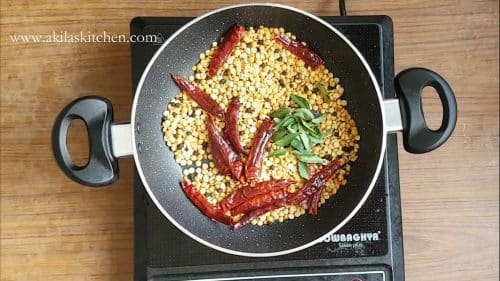
And the curry leaves and again try it.
-
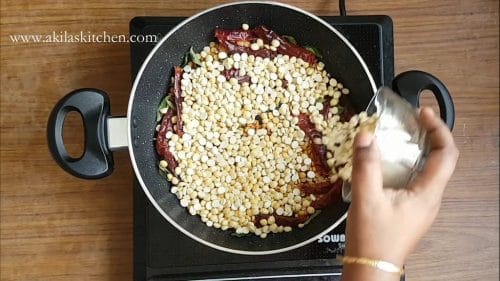
Fry them nicely for about 10 to 15 minutes. Now add the roasted gram ( adding roasted gram is optional but here to give a flavor and nice taste I have fried the roasted gram also ).
-
After about 10 minutes of frying all the ingredients in low flame check whether you can crush the red chillies easily and also check whether the toor dal is crispy enough. If you can able to crash the red chillies easily then it means the ingredients got fried in a correct way and you can remove it from the Vessel and cool them down.
-
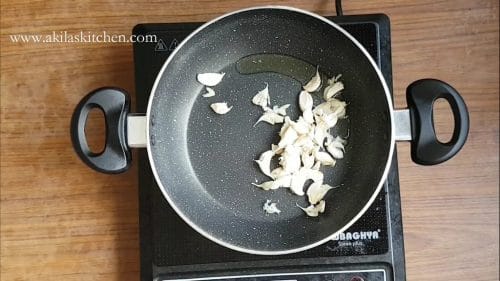
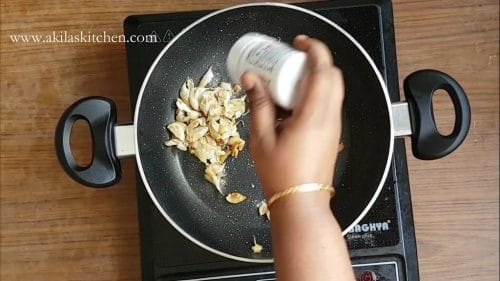
In the same vessel add one teaspoon of ghee or oil and add the garlic cloves and start frying it.
-
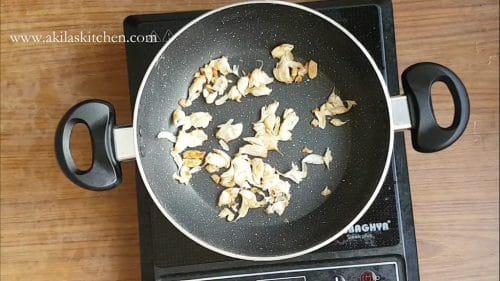
The garlic cloves must turn into brown color and they should be crispy also. Here no need to remove the garlic skin because it contains antioxidants and is good for health. You can fry this for around 8 to 10 minutes.
-
Now add the asafoetida And again try for another two minutes approximately.
-
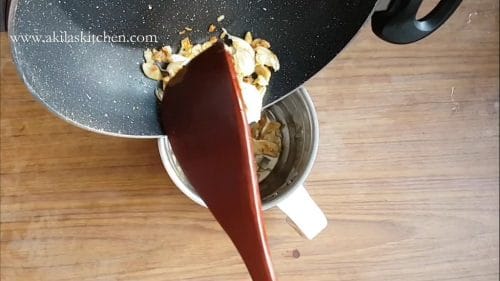
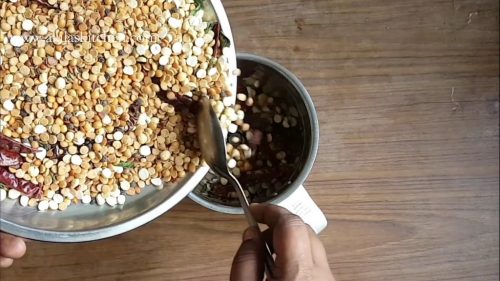
No transfer all the fried ingredients into the Mixie or any other food processor and grind to a fine powder. while transferring to the food processor or mixer grinder you can add the garlic cloves first and the other ingredients on top of it. this is done so that the garlic skin is correctly grinded.
-
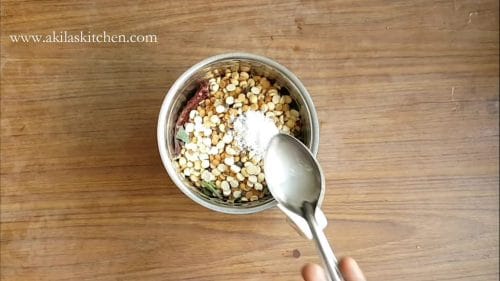
11. Now add the salt as per your taste.
-
Grind to a fine powder.
-
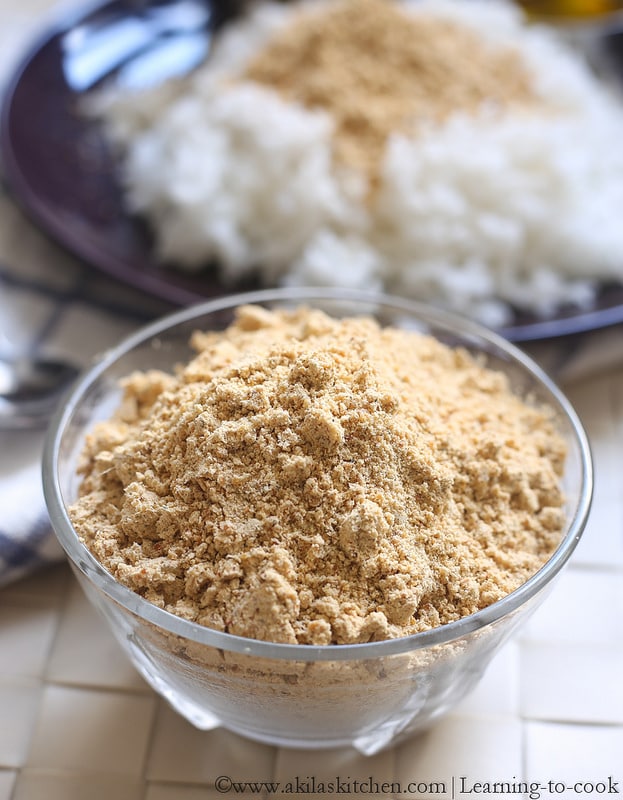
13. Spicy and tasty and Andhra paruppu podi | Kandi podi is ready to be served. Add it on the rice with a teaspoon of ghee and enjoy.
- No need to remove the skin of the garlic cloves as the skin has good antioxidant property and is good for human health.
- Here again I have used small variety of garlic which gives a nice taste and flavor to this podi. If you can't able to find the small variety of Garlic, you can use the normal one also.
- If You feel, the red chillies are more you can readily reduce the amount of red chillies as well as the peppercorns.
Step by step instructions of Andhra Paruppu Podi | Kandi Podi recipe
Ingredients
- Bengal gram / Toor dal – 1 Cup
- roasted gram – 1 cup
- red chillies – 12 to 15 ( + or – )
- peppercorns – 1 teaspoon
- Cumin – 1 teaspoon
- Curry leaves – little ( optional )
- Asafoetida – 1/4 tsp ( or little )
- Salt – as per taste
Method for preparing the Andhra paruppu Podi | Kandi Podi recipe
1. In a heavy-bottomed vessel add one cup of toodle and start frying it in low Flame for about 10 to 12 minutes or until it becomes light brown in color.
2. When’s the color of the Toor dal changes and the dried red chilies and again Fry for another 8 to 10 minutes.
3. Now add the peppercorns and cumin and again start frying it.
4. And the curry leaves and again try it.
5. Fry them nicely for about 10 to 15 minutes. Now add the roasted gram ( adding roasted gram is optional but here to give a flavor and nice taste I have fried the roasted gram also ).
6. After about 10 minutes of frying all the ingredients in low flame check whether you can crush the red chillies easily and also check whether the toor dal is crispy enough. If you can able to crash the red chillies easily then it means the ingredients got fried in a correct way and you can remove it from the Vessel and cool them down.
7. In the same vessel add one teaspoon of ghee or oil and add the garlic cloves and start frying it.
8. The garlic cloves must turn into brown color and they should be crispy also. Here no need to remove the garlic skin because it contains antioxidants and is good for health. You can fry this for around 8 to 10 minutes.
9. Now add the asafoetida And again try for another two minutes approximately.
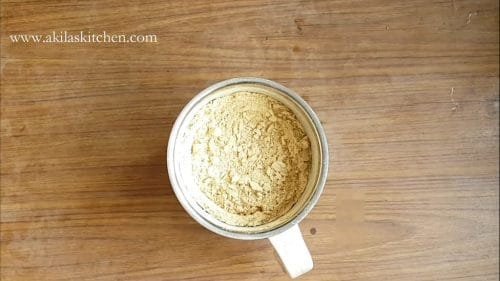
10. No transfer all the fried ingredients into the Mixie or any other food processor and grind to a fine powder. while transferring to the food processor or mixer grinder you can add the garlic cloves first and the other ingredients on top of it. this is done so that the garlic skin is correctly grinded.
11. Now add the salt as per your taste.
12. Grind to a fine powder.
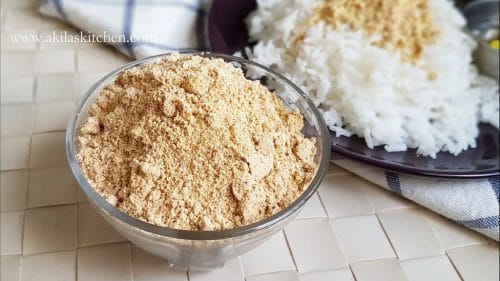
13. Spicy and tasty and Andhra paruppu podi | Kandi podi is ready to be served. Add it on the rice with a teaspoon of ghee and enjoy.
Notes
1. No need to remove the skin of the garlic cloves as the skin has good antioxidant property and is good for human health.
2. Here again I have used small variety of garlic which gives a nice taste and flavor to this podi. If you can’t able to find the small variety of Garlic, you can use the normal one also.
3. If You feel, the red chillies are more you can readily reduce the amount of red chillies as well as the peppercorns.

Leave a Reply